Hair, soap scum, and other trash can clog your linear shower drain over time, slowing it down or blocking it.
The quickest solution is to remove the shower drain cover and clean the outlet or channel underneath it. To simplify this task, we’ve prepared this ideal guide to help you complete the process flawlessly. Please read on!
Linear shower drain covers
Before moving on to the actual steps, let us examine different types of linear shower drain covers. It will help you decide on our initial approach to removing the covers.
Snap-In Shower Drain Covers
Snap-in covers for linear shower drains are popular and easy to use. These coverings snap into place without screws or bolts. They usually have a tension mechanism to secure the drain lid. A modest upward force releases tension and makes snap-in covers easy to remove. Simplicity and low upkeep characterize this style.
Screw-In Shower Drain Covers
Screws or fasteners secure linear drain screw-in caps. These covers are better for high-traffic restrooms since they fit more securely. A screwdriver or Allen wrench is needed to remove a screw-in lid. Unscrewing the fasteners releases the cover for drain cleaning or maintenance.
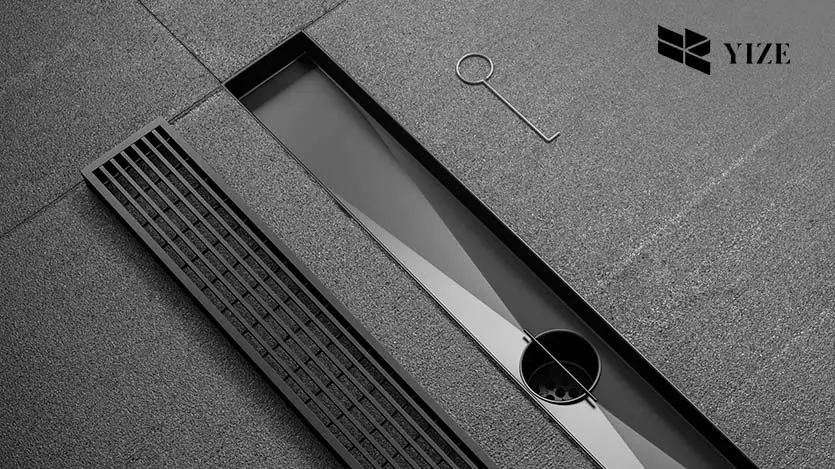
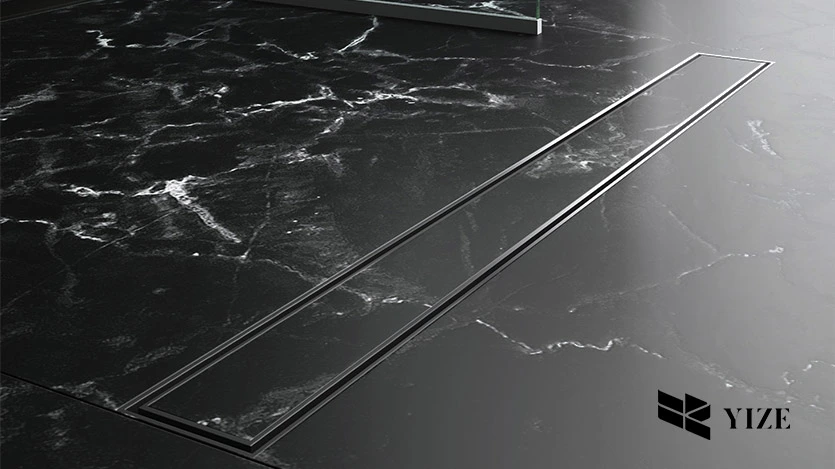
Tile-Covered Linear Shower Drain Covers
These drain covers merge flawlessly with the shower floor. These covers have a tile layer that matches the flooring for a uniform effect. This type is chosen for its bathroom design compatibility.
Lastly, this drain cover is our primary topic of discussion in this article. It is because of its flawless design and ideal aesthetics that it merges with your bathroom floor.
How to remove a tile linear shower drain cover
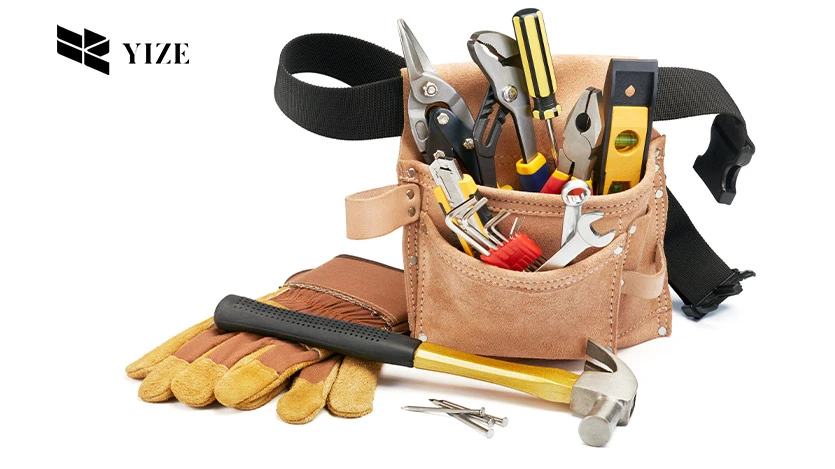
Step 1: Gather Tools and Materials
Gather the right equipment before removing your tile-covered linear shower drain cover. To prepare, here’s a brief list:
- Allen wrench or screwdriver (Choose one that matches your drain cover screws.)
- Pry Bar or Flathead Screwdriver (if needed): (For delicately removing tile covers.)
- The bucket or container (Collect any trash or water that may come out.)
- Optional lubricant (If your drain cover is stuck, WD-40 can help remove it.)
- Gloves (To safeguard your hands during removal and cleaning.)
- Safety glasses (optional but advised) (For extra protection, especially if debris falls.)
Having these tools on hand will simplify removal and prevent issues.
Step 2: Differentiate Tile-Covered Drain Types: Features
Successful removal requires knowing your tile-covered linear shower drain type. Here is what you need to do:
- Check the Surface (Make sure the drain cover matches the tiles. Tile-covered drains match for a uniform look)
- Find Grout Lines (Look for grout lines around the drain cover. Grout lines match tiles on tile-covered drains.)
- Examine Edges (Check the drain cover edges. Tile-covered versions may have elevated frame-tile edges.)
These factors will help you choose a removal method. After choosing the type, you’ll be ready for the next stages.
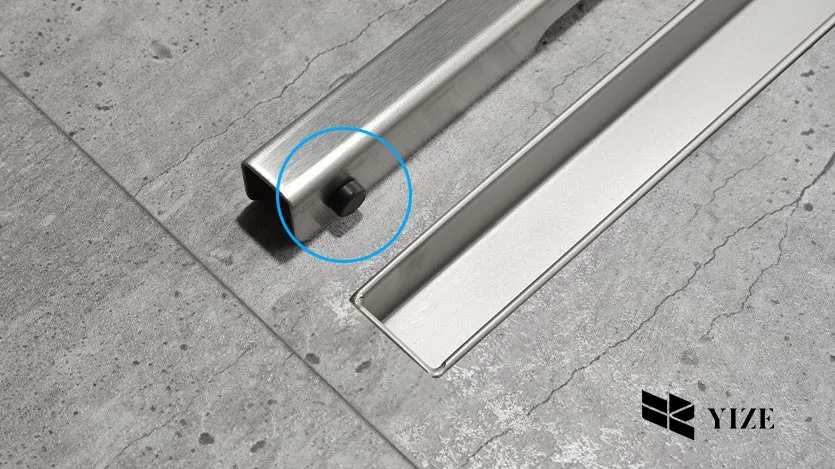
Step 3: Address the fastening mechanism
After laying the groundwork, address the tile-covered linear shower drain’s fastening mechanism. Do the following:
Check drain cover edges thoroughly. Look for visible screws, bolts, or slots to determine cover security.
Similarly, to check for concealed fasteners, run your fingertips along the edges to feel for hidden seams or fasteners under the tile or cover plate.
Furthermore, see the manual that came with the product for more details.
Another good tip here is to use a flashlight. It can illuminate the drain area if the fasteners are not visible. Also, this can reveal occluded attachment points.
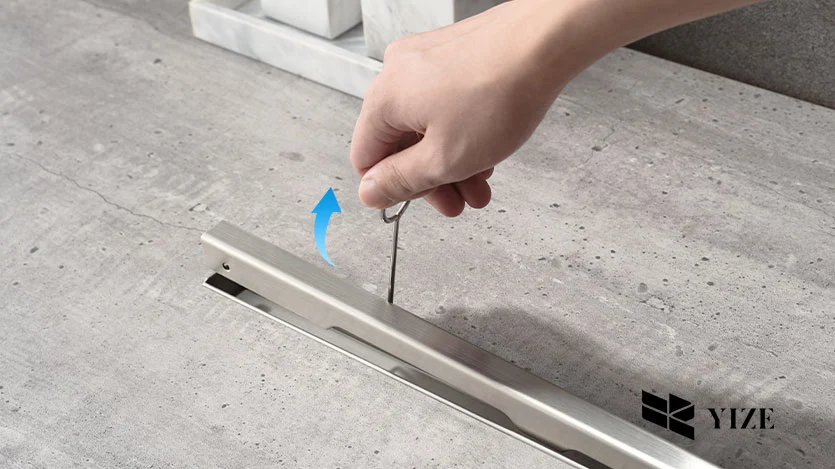
Step 4: Loosening and Lifting the Tile Cover
In this step, you will loosen and lift the tile linear shower drain cover. Here is how you can proceed:
- Put the flathead screwdriver or pry bar at the drain cover edges.
- Apply gentle upward pressure to loosen the cover. Try not to force it to avoid injury.
- Gradually and evenly press across the drain cover’s edges.
- Release the cover from its attaching points without damaging the tiles.
- Switch sides and slowly release each segment if the cover seems stubborn. This approach distributes pressure uniformly and simplifies removal.
- Beware of obstacles when lifting the lid. Avoid damage by pausing and reassessing if you run into problems.
- Apply a little oil to the drain cover edges if it stays resistant. This can make cover removal easier, especially if it’s stuck.
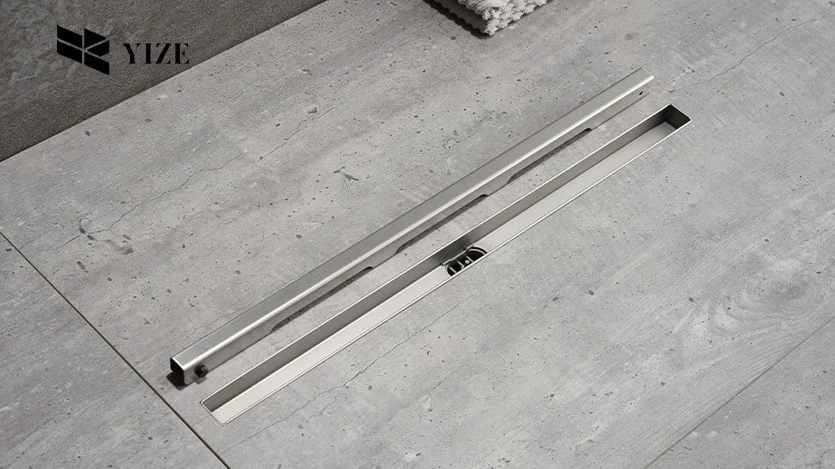
Step 5: Inspecting the Drain Opening
After removing the tile-covered linear shower drain cover, inspect the drain opening. Clean and debris-free with these steps:
- Look for hair, soap scum, and other debris in the drain opening. Remove obstacles gently with a glove or tool.
- Examine the filter and grate. Check their condition and functionality.
- Use a mild drain cleaner as directed for difficult obstructions. Do not use aggressive chemicals that could damage pipes.
- Purge the drain of debris with water. This ensures drainage and prevents problems.
Step 6: Securely Fasten the New or Cleaned Drain Cover
Now that you have removed and cleaned your linear drain tile cover. It is time to put it back or install it. The following steps can help you do that:
- Align the drain cover with the drain opening’s edges. Focus on centering for a sleek finish.
- Install screws or fasteners carefully into drain cover holes. Use the right tool to secure them.
- To make the drain cover flat with the tiles, press down evenly.
- Gently test the new drain cover’s stability. It should feel solid and stable.
- Visually check the drain cover alignment from a distance. Make sure it matches the shower’s decor.
- Remove installation fingerprints, smudges, and debris by cleaning the surrounding tiles.
Conclusion
Removing the tile linear shower drain cover may seem like an easy DIY task, but you must be careful. Your primary concern must be your own safety and that of the product. A novice approach may result in damaging the title cover and even cause a nasty leakage.
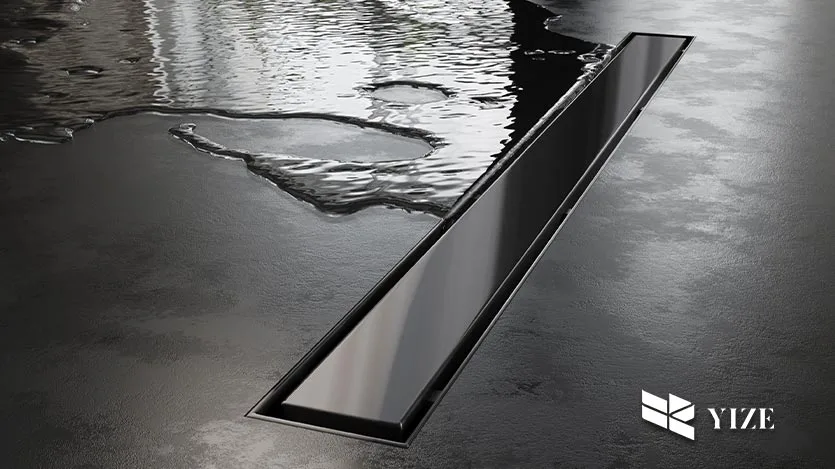
At YZdrain, we offer premium quality linear shower drains that can run for decades without needing replacement. Also, their covers are easy to remove, and the drain can effortlessly be cleaned.
Finally, did we miss an important point? Please feel free to leave us a comment, and we will address it as soon as possible. Thanks for the Read!
FAQs
How do I know my shower drain cover is tiled?
Tile-covered drain covers blend with adjacent tiles, with grout lines and raised edges.
What tools are needed to remove a tiled shower drain cover?
A screwdriver, Allen wrench, pry bar, bucket, gloves, and safety glasses are essential.
Can lubrication help remove a tile linear shower drain cover?
For stubborn drain covers, a little WD-40 can assist.
How can I examine tile-covered drains for hidden fasteners?
Feel the edges and consult the product handbook; use a flashlight if needed.
What measures should I take before removing the drain cover?
Clear the area, protect neighboring tiles, turn off the water if needed, wear gloves, and have a bucket.
Should I replace the drain cover during removal?
Replace the drain and cover if damaged, or upgrade for a fresh look.
Can I reuse the tile-covered drain cover?
Yes, assuming it’s in good condition, secure it with screws and align it.